

Overview
Plusero - Extra Fees for WooCommerce Free adds a charge to an order when a condition you set is met. Some examples are a cash on delivery surcharge, a small order fee, a packaging charge on fragile goods or a card processing percentage. You describe the rule once, and from then on the fee is applied automatically.
You build each fee in a short guided builder with five steps: Where, When, Amount, Wording and Review. Before you save, the builder reads your answers back to you so you can check what you built. There is no limit on how many fees you create.
Fees are added through the standard WooCommerce cart fee hook. They appear in the cart, the checkout, the order, the confirmation email and PDF invoices, and they work on both the classic and the block cart and checkout. The plugin makes no remote requests. Everything it stores stays in your own database.
Requirements
- WordPress 6.4 or later
- PHP 7.4 or later
- WooCommerce 8.0 or later (required plugin)
Installation
The plugin is free on WordPress.org. It needs WooCommerce, so install and activate WooCommerce 8.0 or newer first.
In your WordPress dashboard, go to Plugins > Add New.
Search for
Plusero Extra Fees for WooCommerce.Click Install Now on the Plusero - Extra Fees for WooCommerce result.
Click Activate.
Open Plusero Fees in the admin menu. Your fee list starts out empty.
Quick start
- Open the fee list
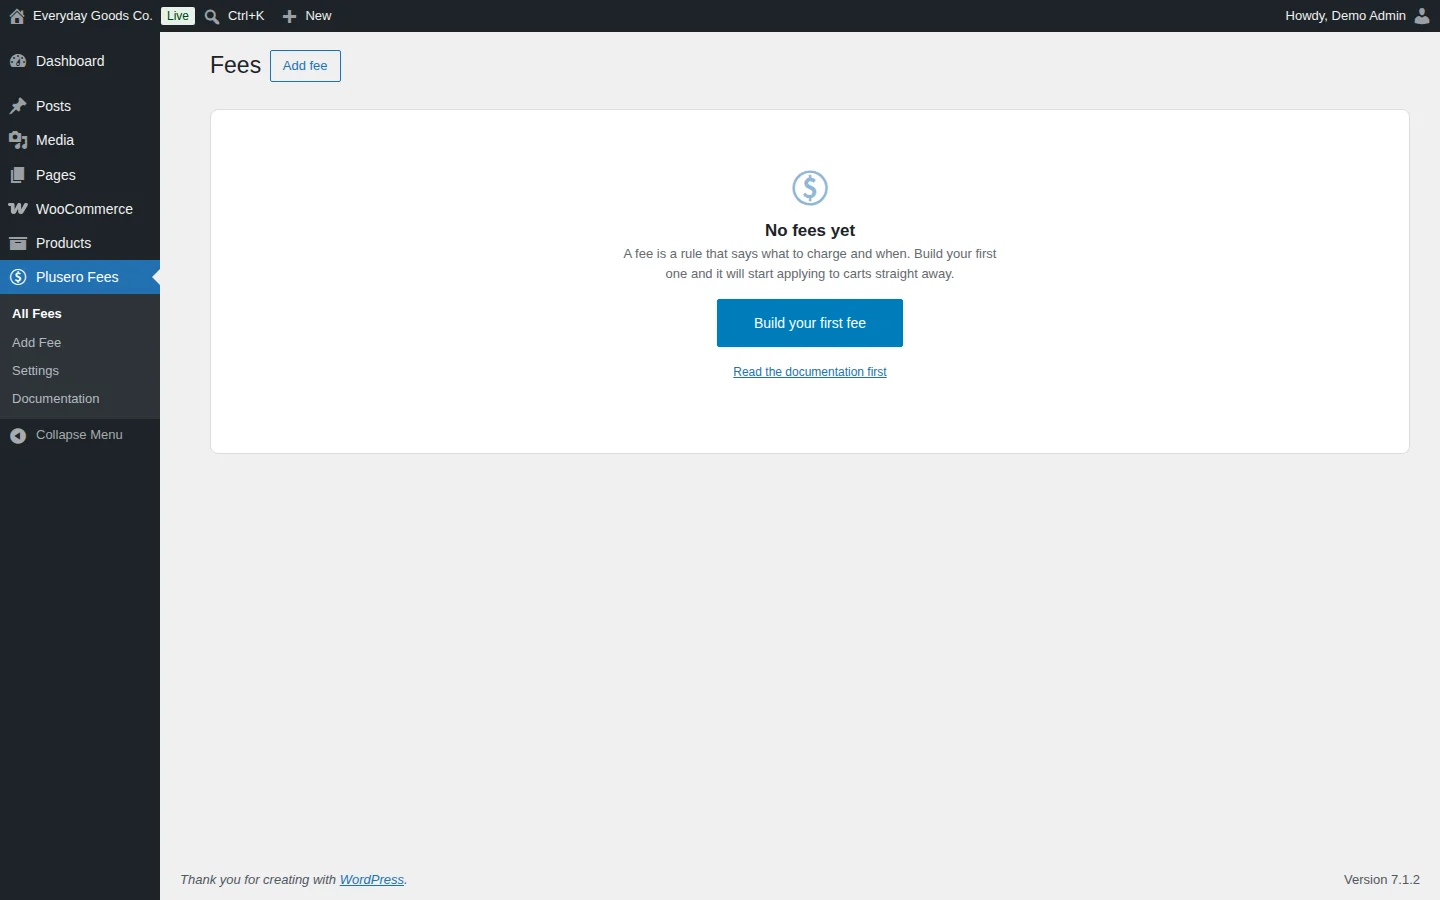
Go to Plusero Fees > All Fees. If you have no fees yet, you see a No fees yet message. Click Build your first fee or Add fee.
- Choose where the fee is charged
In step 1, Where, pick Product, Cart, Checkout, Shipping or Payment, then click Next. For a cash on delivery surcharge, choose Payment.
- Add conditions
In step 2, When, click Add a condition and pick what has to match. For a cash on delivery fee, leave the type as Payment method and pick your cash on delivery gateway. If you add no conditions, the fee is charged on every order.
- Set the amount and the wording
In step 3, Amount, choose Fixed amount and enter the charge, or choose a percentage. In step 4, Wording, fill in Fee label with the text your customers should see, for example
Cash on delivery charge. - Review, save and test
In step 5, Review, read the summary, then click Save fee. A new fee is active straight away. To test it, add a product to the cart, go to checkout and select the matching payment method. The fee shows up in the totals, and it goes away again if you switch to another payment method.
#All Fees
Plusero Fees > All Fees lists every fee you have built. For each fee, the list shows where it applies, what it charges and whether it is active.
On a new install the list is empty and shows No fees yet. A fee is a rule that says what to charge and when. Click Build your first fee to start the builder, or click Read the documentation first to open the built in guide.
From the fee list you can:
- Click Add fee to build a new fee.
- Switch a fee off without deleting it. This is useful when you want to prepare a fee before it goes live, because a new fee is active as soon as you save it.
- Duplicate a fee and use it as the starting point for another one.
There is no limit on how many fees you create.
#Add Fee: where the fee is charged
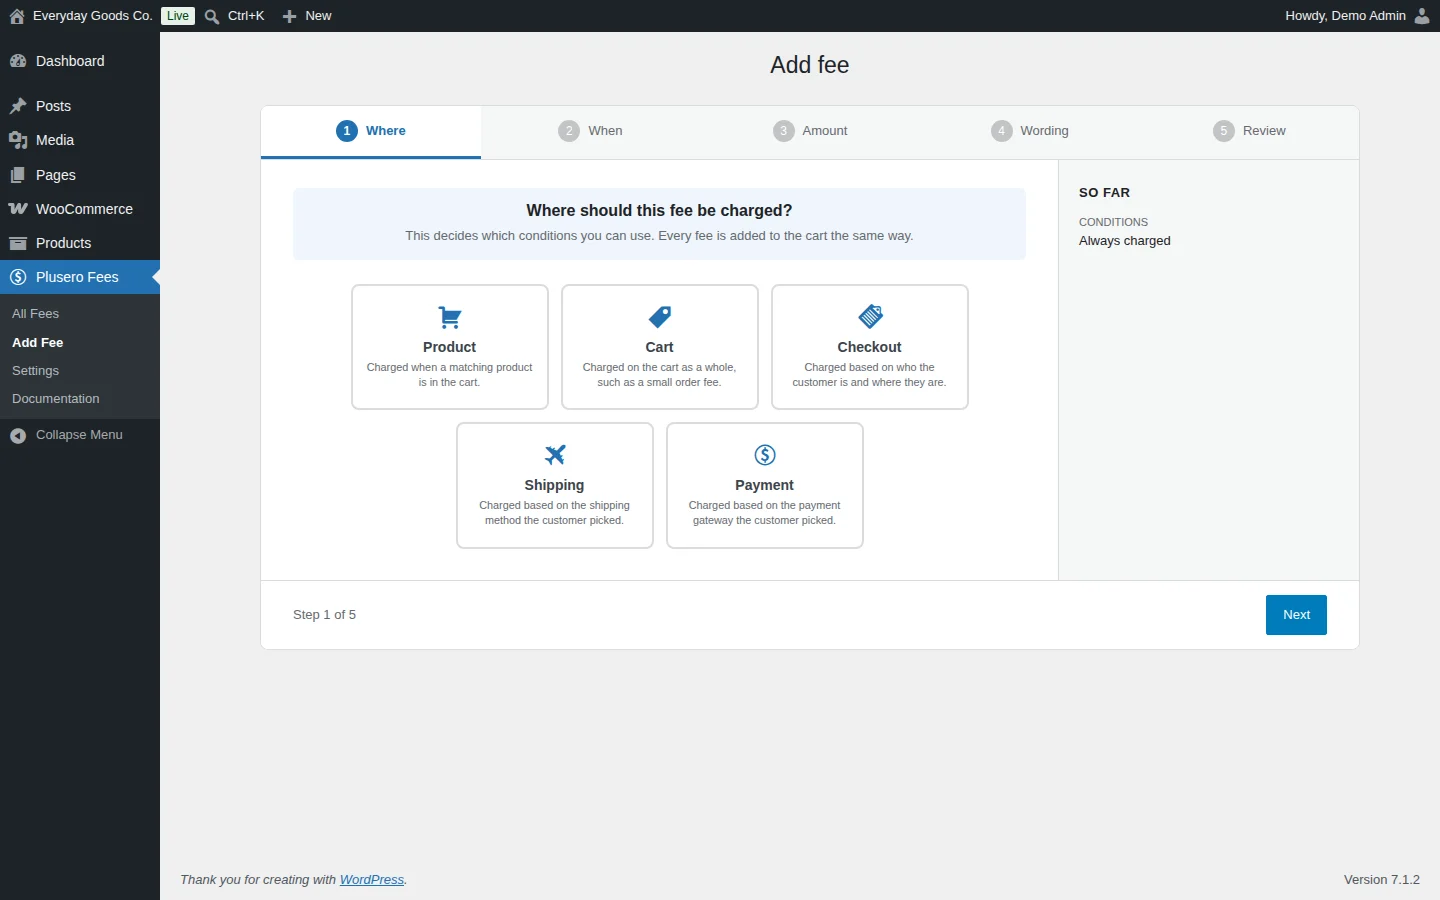
Plusero Fees > Add Fee opens the fee builder. It has five steps, shown as tabs across the top: Where, When, Amount, Wording and Review. The So far panel on the right sums up your answers as you go. With no conditions yet, it reads Always charged. You can go back and change any answer before you save.
Step 1, Where should this fee be charged?, decides which conditions the builder offers you. Every fee is added to the cart the same way, so the location is about what the fee reacts to, not which page it shows on.
| Location | When it is charged | Conditions offered |
|---|---|---|
| Product | When a matching product is in the cart. | Product, Product category, Total quantity, Customer role |
| Cart | On the cart as a whole, such as a small order fee. | Cart subtotal, Total quantity, Product, Product category, Customer role |
| Checkout | Based on who the customer is and where they are. | Billing country, Customer role, Cart subtotal, Total quantity |
| Shipping | Based on the shipping method the customer picked. | Shipping method, Cart subtotal, Billing country, Customer role |
| Payment | Based on the payment gateway the customer picked. | Payment method, Cart subtotal, Total quantity, Customer role |
Pick a location and click Next to continue.
#Step 2: When the fee is charged
Conditions decide when a fee is charged. If you leave them empty, the fee is always charged. If you add them, the fee is charged only when they match. Click Add a condition to add one. The builder reads the rule back to you as a sentence.
At the top of the condition list, choose how the conditions combine:
- All match: every condition has to be true.
- Any match: one matching condition is enough.
For example, with All match, a cart subtotal less than 500 and a billing country of India, a small order fee is charged only on Indian orders under 500.
The conditions you can use:
- Cart subtotal: the cart subtotal before tax, shipping and other fees.
- Total quantity: how many items are in the cart in total, counting quantities.
- Product: matches when one of the chosen products or variations is in the cart.
- Product category: matches when a cart item belongs to one of the chosen categories.
- Customer role: the role of the logged in customer. Visitors who are not logged in count as Guest.
- Billing country: the country on the billing address at checkout.
- Payment method: the gateway the customer selected. The fee updates as soon as they switch.
- Shipping method: the shipping method the customer selected at checkout.
Which of these you see depends on the location you picked in step 1.
#Step 3: How the amount is worked out
In the Amount step you pick a method and fill in the amount it asks for.
- Fixed amount: charges the same amount every time.
- Percentage: charges a percentage of the cart subtotal, with or without tax. For a Product fee, the percentage is taken from the matching products only, not the whole basket. For example, a 10 percent product fee limited to one product charges 10 percent of that product's line, whatever else is in the cart.
These options apply to every method:
- Smallest fee and largest fee: set a floor and a ceiling. This keeps a percentage fee sensible on very large orders.
- Rounding: round to two decimals, up to a whole number, or to the nearest 0.05.
- Charge tax on this fee: makes the fee taxable. When you tick it, you can also choose the tax class it uses. WooCommerce then treats the fee like any other taxable line and includes it in your tax reports.
#Step 4 and 5: Wording and review
In the Wording step you decide what customers see:
- Fee label: the name of the fee in the cart and checkout totals, for example
Cash on delivery charge. - Description: a short line in smaller text under the fee amount in the classic cart and checkout totals.
- Tooltip: text shown through a marker next to the fee.
- Order: decides the order in which fees are worked out and displayed.
If you use WPML or Polylang, fee labels, descriptions and tooltips are registered for translation automatically when you save a fee.
In the Review step the builder describes the finished fee in plain words. Read it through, then click Save fee. The fee is active straight away.
#Settings
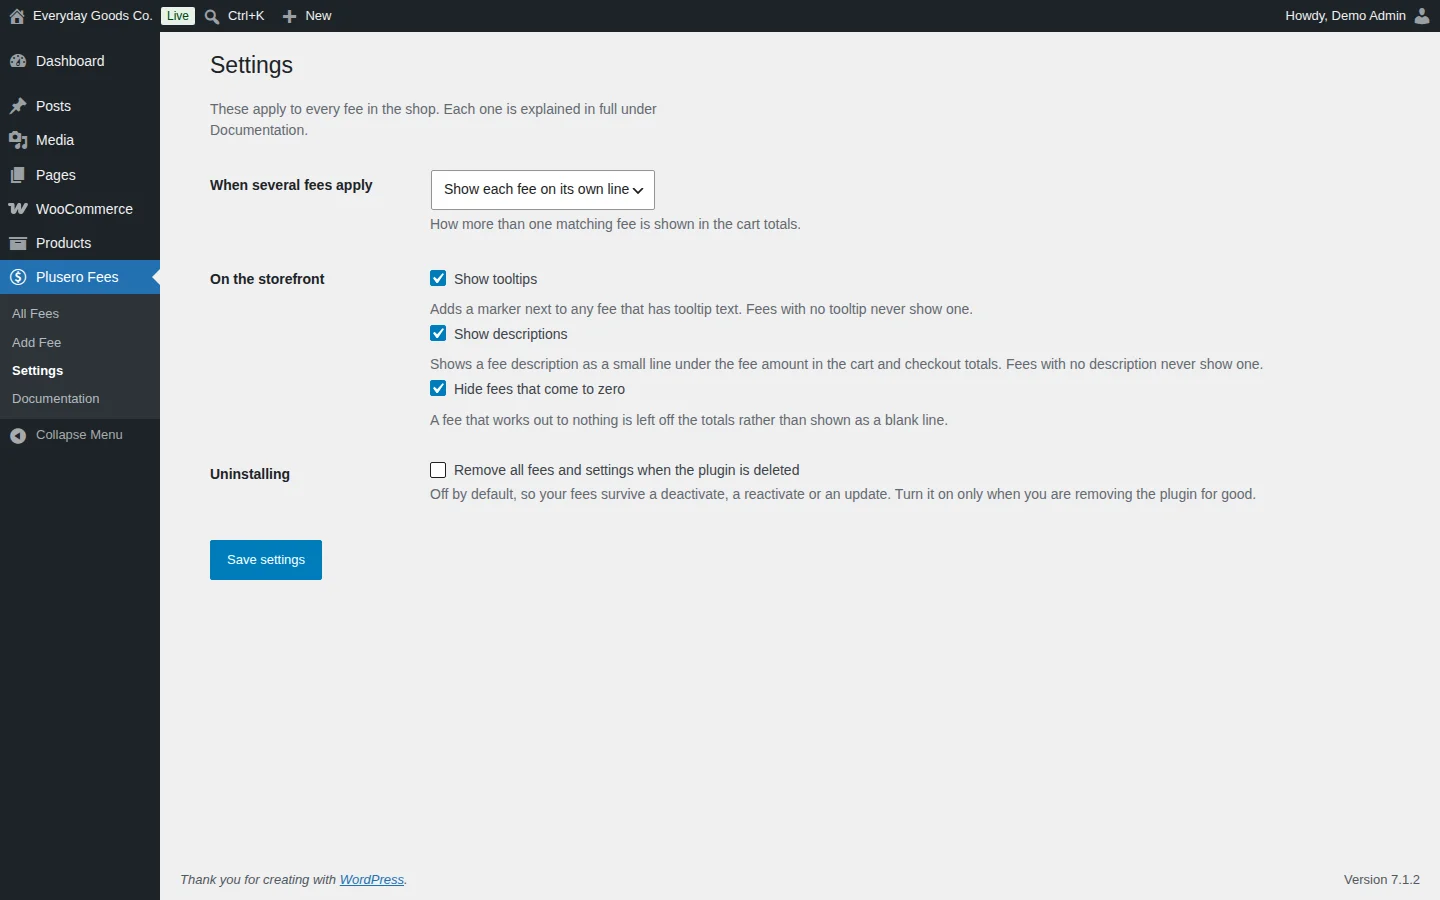
Plusero Fees > Settings holds options that apply to every fee in your store. Change what you need and click Save settings.
- When several fees apply sets how more than one matching fee is shown in the cart totals. The available choice is Show each fee on its own line.
- On the storefront has three checkboxes: Show tooltips, Show descriptions and Hide fees that come to zero. They control the tooltip marker, the description line and whether a fee that works out to nothing is left off the totals.
- Uninstalling has Remove all fees and settings when the plugin is deleted. This is off by default, so your fees survive a deactivate, a reactivate or an update. Turn it on only when you are removing the plugin for good.
#Documentation
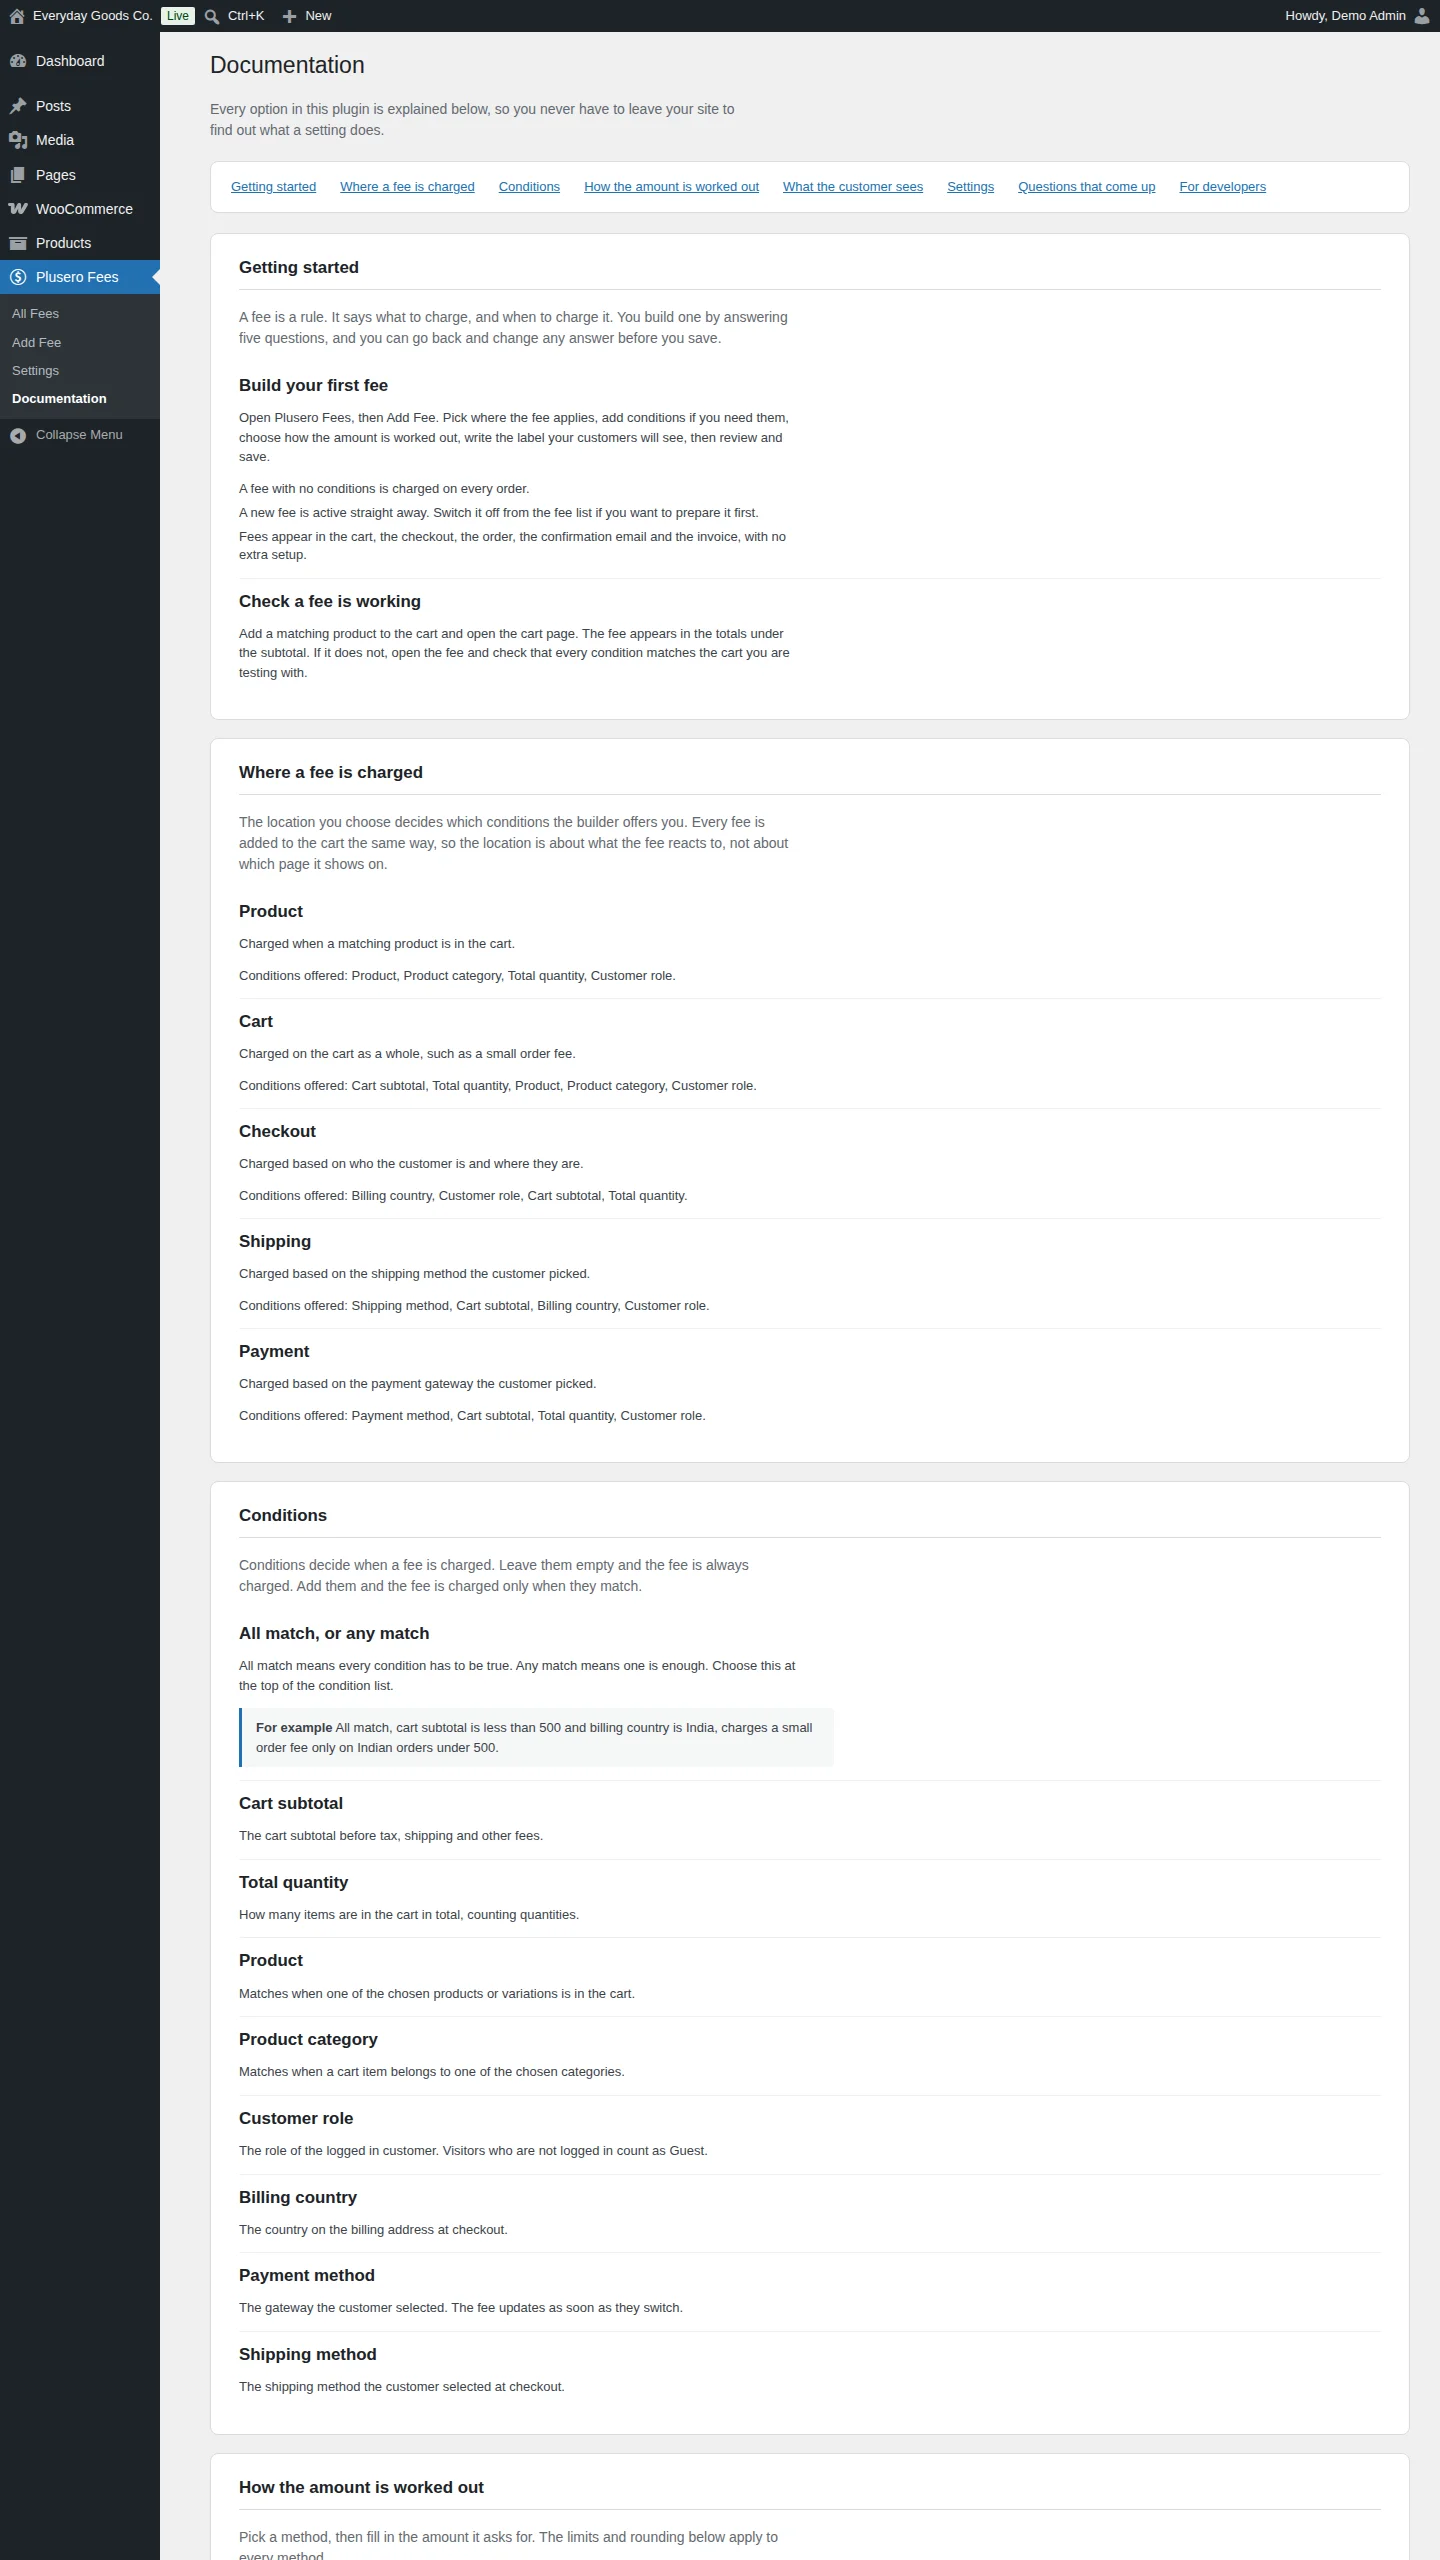
Plusero Fees > Documentation explains every option inside your dashboard, so you do not have to leave your site to look something up. Use the links at the top to jump to a topic:
- Getting started: building your first fee and checking that it works.
- Where a fee is charged: each location and the conditions it offers.
- Conditions: what each condition means.
- How the amount is worked out: methods, limits, rounding and tax.
- What the customer sees: label, description, tooltip, internal name and order.
- Settings: each setting on the Settings screen.
- Questions that come up: common problems and their answers.
- For developers: the filters and actions you can use, such as
plusero_ef_conditions,plusero_ef_evaluate_condition,plusero_ef_methodsandplusero_ef_calculate_custom.
Settings reference
Plusero Fees > Settings
| Setting | Type | Default | What it does |
|---|---|---|---|
| When several fees apply | select | Show each fee on its own line |
How more than one matching fee is shown in the cart totals. |
| Show tooltips | checkbox | on |
Adds a marker next to any fee that has tooltip text. Fees with no tooltip never show one. |
| Show descriptions | checkbox | on |
Shows a fee description as a small line under the fee amount in the cart and checkout totals. Fees with no description never show one. |
| Hide fees that come to zero | checkbox | on |
A fee that works out to nothing is left off the totals rather than shown as a blank line. |
| Remove all fees and settings when the plugin is deleted | checkbox | off |
Off by default, so your fees survive a deactivate, a reactivate or an update. Turn it on only when you are removing the plugin for good. |
On your site
You do not need to add anything to your pages. Shoppers see your fees as extra lines in the cart and checkout totals, below the subtotal, and the same fees carry through to the order, the confirmation email and PDF invoices.
- Each fee shows its Fee label and amount.
- In the classic cart and checkout, a fee with a description shows it as a short line in smaller text under the amount. The block cart and checkout draw their own totals and do not show descriptions.
- A fee with tooltip text gets a marker next to it when Show tooltips is on.
- Payment and shipping fees recalculate as soon as the shopper changes the payment method or the shipping method. A cash on delivery surcharge appears and disappears as they change their mind. This works on both the classic and the block checkout.
- The classic cart and checkout, the block cart and checkout, and the Store API all show the same totals.
Frequently asked questions
Can I charge a fee only for cash on delivery?
Yes. Add a fee, choose Payment as the location, add a Payment method condition set to your cash on delivery gateway, and set the amount. The fee appears as soon as the customer picks that gateway.
Does the fee include tax?
Only if you tick Charge tax on this fee in the Amount step. When you do, you can also choose which tax class it uses. WooCommerce then treats the fee like any other taxable line and includes it in your tax reports.
Do fees work with the block cart and checkout?
Yes. Fees are added through the standard WooCommerce cart fee hook, which the block cart, the block checkout and the Store API all read from. The one difference is that the block cart and checkout do not show fee descriptions.
Can I charge different amounts at different order sizes?
Yes. Build one fee per band and give each one a Cart subtotal condition that covers its range. Give them different order numbers so they read in sequence in your fee list.
What is a Product fee's percentage taken from?
From the products it matches, not the whole basket. A product fee of 10 percent limited to one product charges 10 percent of that product's line, whatever else is in the cart.
Will deleting the plugin remove my fees?
Only if you ask it to. The Remove all fees and settings when the plugin is deleted setting under Plusero Fees > Settings is off by default, so your fees survive a deactivate, a reactivate and an update.
Does the plugin send data anywhere?
No. The plugin does not connect to any external service and makes no remote requests. Everything it stores stays in your own database.
Can I add my own condition or calculation?
Yes. Register a condition with plusero_ef_conditions and answer it with plusero_ef_evaluate_condition. Register a calculation with plusero_ef_methods and work it out with plusero_ef_calculate_custom. The full list is under Plusero Fees > Documentation, in For developers.
Troubleshooting
- The plugin will not activate, or the Plusero Fees menu is missing.
The plugin requires WooCommerce. Install and activate WooCommerce 8.0 or newer first, then activate Plusero - Extra Fees for WooCommerce again. Also check that your site runs WordPress 6.4 or later and PHP 7.4 or later.
- My fee is not showing in the cart.
Check three things in order:
- The fee is active in Plusero Fees > All Fees.
- Every condition matches the cart you are testing with. With All match, all of them must be true.
- The amount comes to more than zero. Fees that work out to nothing are hidden while Hide fees that come to zero is ticked under Plusero Fees > Settings.
- A payment or shipping fee does not appear until checkout.
Payment and shipping fees depend on the gateway or shipping method the customer selects. To test one, add a product to the cart, go to checkout and select the matching method. The fee appears in the totals and goes away again when you switch to another method.
- The fee description does not appear under the fee.
Make sure Show descriptions is ticked under Plusero Fees > Settings and that the fee has a description in its Wording step. Descriptions show only in the classic cart and checkout. The block cart and checkout draw their own totals and do not show them.
- The tooltip marker does not appear next to a fee.
Tick Show tooltips under Plusero Fees > Settings and click Save settings. Then open the fee and add tooltip text in the Wording step. Fees with no tooltip never show a marker.
- A new fee started charging customers before it was ready.
A new fee is active as soon as you save it. To prepare a fee first, switch it off in Plusero Fees > All Fees, finish it, then switch it on again.
Upgrade
Upgrade to Plusero - Extra Fees for WooCommerce
The free plugin works on its own. Nothing in it is limited, locked or time restricted. If you need more control, Plusero - Extra Fees for WooCommerce includes everything in the free plugin and adds:
- Optional fees customers can tick, like gift wrapping
- Tiered, per item, per weight and percent plus fixed fees
- More conditions: weight, country, coupon, weekday
- Schedule fees by date, weekday and hour
- Reusable condition sets and ready made fees
- Fee reports, change history, import and export